Ubuntu 14.10 Code Name “Utopic Unicorn” Desktop Installation Guide with Screenshots
Ubuntu 14.10 has been released on 23 October 2014 with many updated packages and programs, Ubuntu 14.10 was released under the codename “Utopic Unicorn” and is expected to be supported until 23 July 2015 (9 months only because it’s not a LTS release).
Ubuntu 14.10 Features
- Updated packages like: Linux Kernel 3.16, Firefox 33, Libreoffice 4.4.3.2.
- Unity 7.3.1 is the default desktop interface, which features many bug-fixes.
- Unity 8 is available for people who want to test it from the official repositories.
- MATE desktop environment is available to download & install from the official repositories.
- A new nice set of wallpapers which features more than 14 different wallpaper.
- A simple new browser called “Ubuntu Web Browser”.
- Many other features..
For a complete list of features and updates, you may visit our post about Ubuntu 14.10.
Download Ubuntu 14.10
Ubuntu 14.10 is released in many different releases; for desktop, server, cloud and other community developed releases like Kubuntu, Xubuntu, Lubuntu.. etc. You may download Ubuntu 14.10 from here.
- Download ubuntu-14.10-desktop-i386.iso – (987MB)
- Download ubuntu-14.10-desktop-amd64.iso – (981MB)
This article, will guide you through the desktop installation of newly released Ubuntu 14.10 with screenshots.
Ubuntu 14.10 Installation Guide
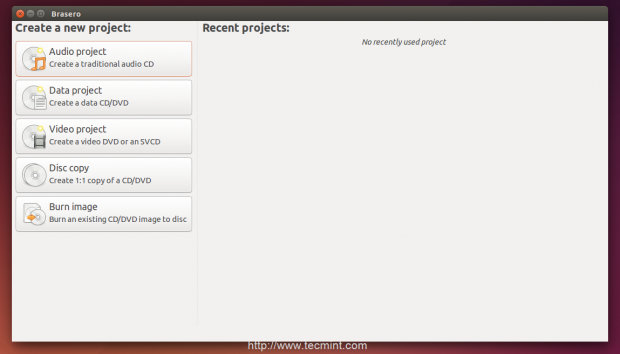
1. After you download Ubuntu 14.10 from the links above, you may use any DVD burning tool like “Brasero” in Linux or “Nero” in Windows to burn the ISO image on the DVD.
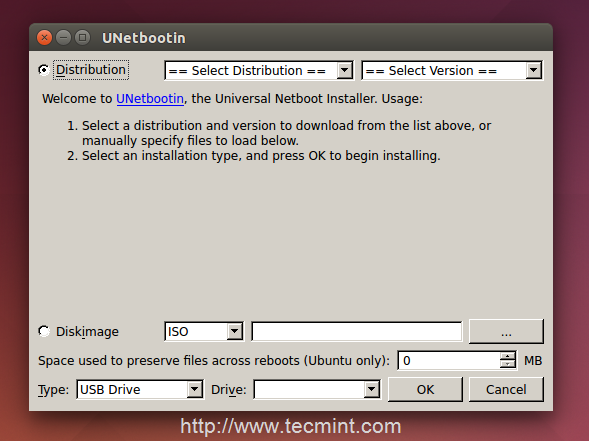
You may also use programs like “Unetbootin” to burn the ISO image on a USB flash.
2. After you burn the ISO image, reboot your machine in order to boot from your DVD/USB, and the Ubuntu welcome screen will be starting.
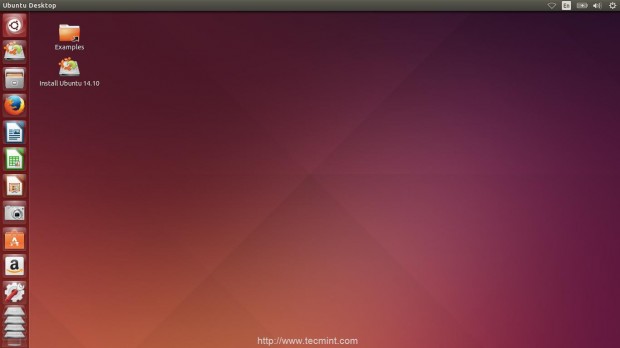
3. Now choose the language you want, and click on “Try Ubuntu 14.10” to give it a try before installing it, if you want, you may move directly to the installation process by choosing “Install Ubuntu 14.10”.
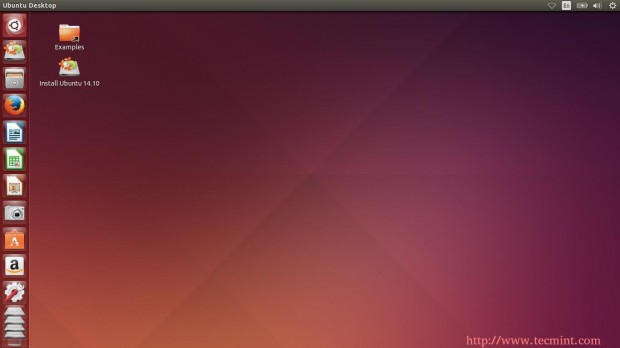
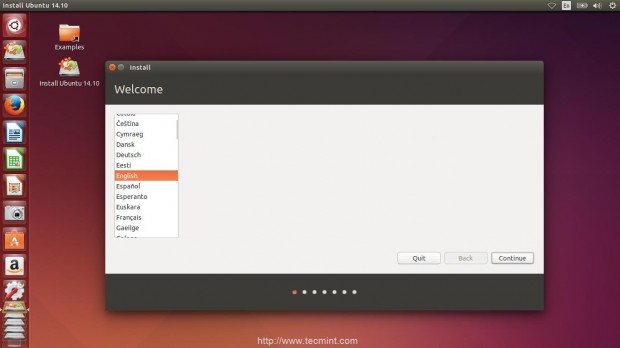
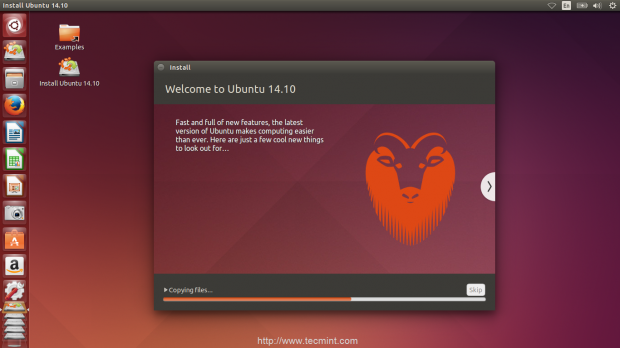
4. When you get to the desktop, click on the “Install Ubuntu 14.10” icon to launch the “Ubiquity” install wizard, you may choose the language you want for the installation process, click on “Continue”.
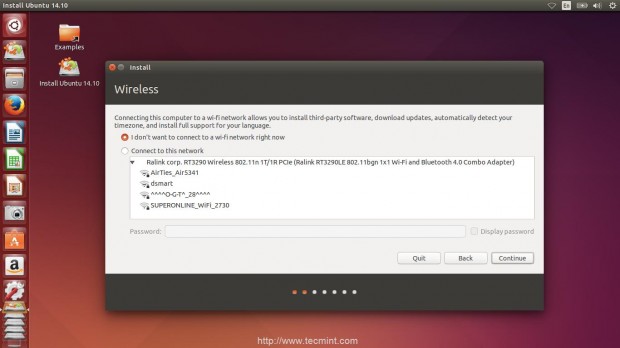
5. If you are using a laptop, or if your computer has a wireless adapter, you may choose the wireless network that you want to connect during the installation process.
This step is important in order to download the latest updates during the installation process, if you want, you can continue the installation process without connecting to the Internet and later download the updates.
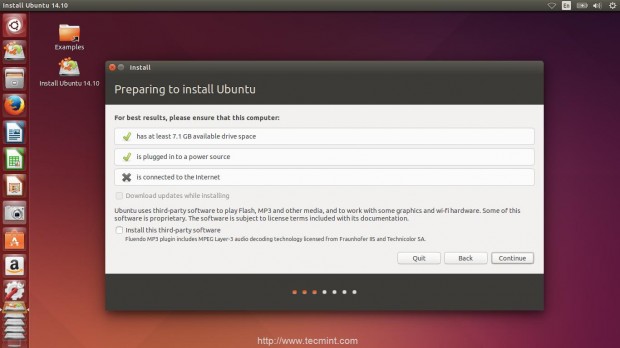
6. Make sure that you laptop (if you’re using one) is connected to the power supply, so that it don’t go off while you are installing Ubuntu 14.10.
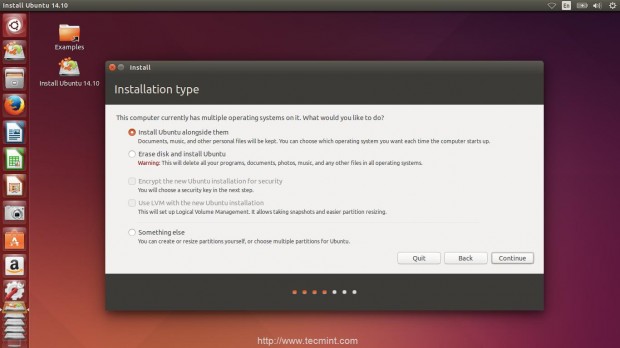
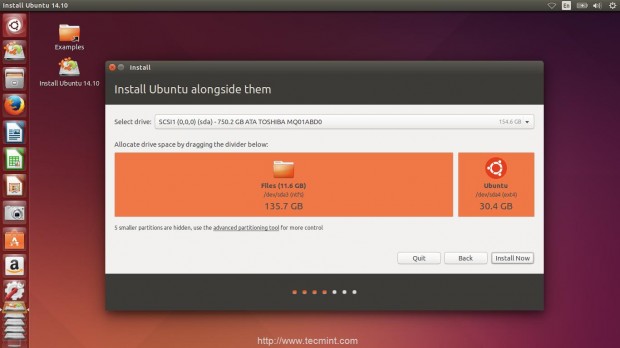
7. In this step now you will have to choose the way you install Ubuntu 14.10 on your hard disk, if you want to run the manual partitioning tool choose “Something Else”, but the easiest thing to do is to choose “Install Ubuntu alongside them” so that the automatic partitioning tool starts.
8. The “Ubiquity” installer will now take the biggest hard disk volume available to resize it to a different 2 partitions, one will be for Ubuntu 14.10 and the other one will be for the data that already exists on the volume, choose the size that you want.
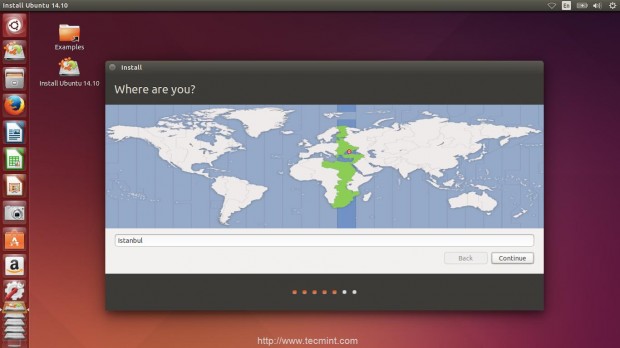
9. Now you will have to choose the timezone in order to adjust the system time and date, click on the place that you live in.
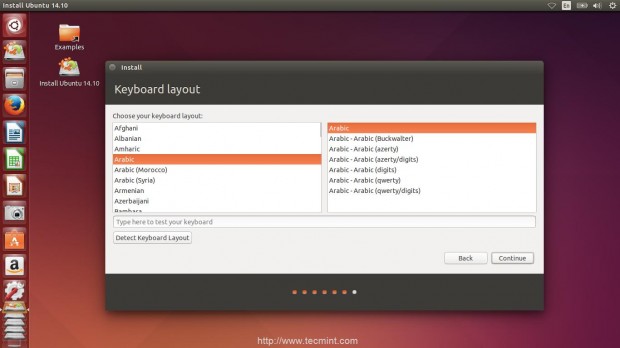
10. Choose the language that you want for you keyboard.
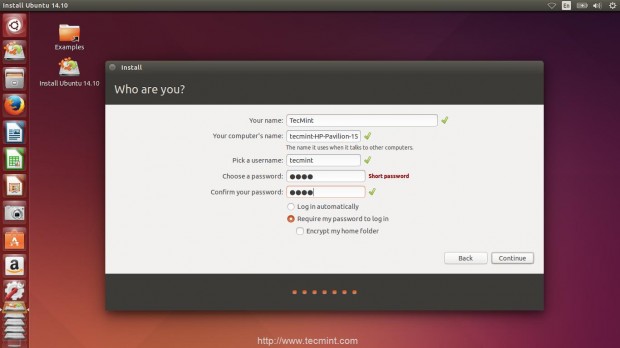
11. In this step now you will have to enter your username and password, you may check those check boxes that you see in order to do the things that they stated.
12. All is done now; wait until the installation process complete.
13. Once installation process completes, restart your computer in order to start using your new system.
That’s it! You may start using your Ubuntu 14.10 system now.
Stay updated, we are preparing a new post about “10 things to do after installing Ubuntu 14.10” which will guide you through the most important things to do after the installation process.
